NextJS

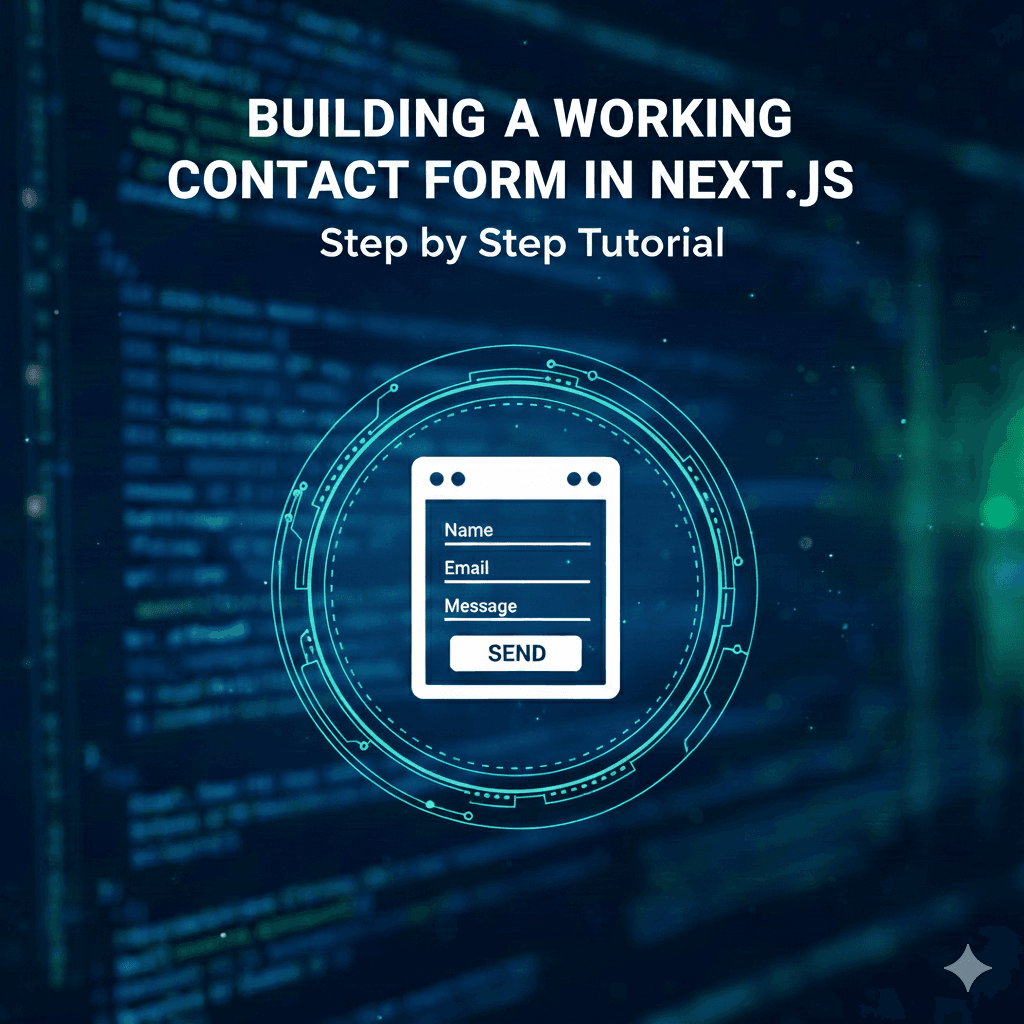
Building a Working Contact Form in Next.js - Step by Step Tutorial

Sanwal Bajwa
5 min read

A contact form is one of the most important features on any portfolio or business website. But setting one up in Next.js can be confusing if you’re not sure how to handle sending emails.

In this tutorial, we’ll build a Next.js contact form with EmailJS—a free service that lets you send emails directly from the frontend without a custom backend.

  • Collects name, email, and message

  • Sends you an email instantly

  • Works without a server

  • Easy to deploy on Vercel


Why Use EmailJS with Next.js?

Normally, you’d need a backend API or serverless function to send emails. EmailJS removes that complexity.

  • No backend required – works directly in your Next.js app

  • Free plan – 200 emails/month

  • Beginner-friendly – just copy keys and use them

This makes it perfect for portfolio websites, landing pages, or small business sites.


Step 1: Setup a Next.js Project

If you don’t already have a Next.js app, create one:

npx create-next-app@latest contact-form
cd contact-form
npm run dev

This starts your app at http://localhost:3000.


Step 2: Install EmailJS

Install the EmailJS browser package:

npm install @emailjs/browser

Step 3: Configure EmailJS

  1. Go to EmailJS and sign up.

  2. Add an email service (e.g., Gmail or Outlook).

  3. Create a new email template with placeholders:

    From: {{from_name}} ({{from_email}})
    Message: {{message}}
    
  4. Copy your Service ID, Template ID, and Public Key.


Step 4: Add Environment Variables

In your Next.js project, create .env.local:

NEXT_PUBLIC_EMAILJS_SERVICE_ID=your_service_id
NEXT_PUBLIC_EMAILJS_TEMPLATE_ID=your_template_id
NEXT_PUBLIC_EMAILJS_PUBLIC_KEY=your_public_key

(Never hardcode keys in your code—always use environment variables!)


Step 5: Build the Contact Form

Create a file components/ContactForm.js:

'use client'
import { useState } from 'react'
import emailjs from '@emailjs/browser'

export default function ContactForm() {
  const [formData, setFormData] = useState({ name: '', email: '', message: '' })
  const [status, setStatus] = useState(null)
  const [isSubmitting, setIsSubmitting] = useState(false)

  const handleChange = (e) => {
    setFormData({ ...formData, [e.target.name]: e.target.value })
  }

  const handleSubmit = async (e) => {
    e.preventDefault()
    setIsSubmitting(true)
    setStatus(null)

    try {
      await emailjs.send(
        process.env.NEXT_PUBLIC_EMAILJS_SERVICE_ID,
        process.env.NEXT_PUBLIC_EMAILJS_TEMPLATE_ID,
        {
          from_name: formData.name,
          from_email: formData.email,
          message: formData.message,
        },
        process.env.NEXT_PUBLIC_EMAILJS_PUBLIC_KEY
      )

      setStatus('success')
      setFormData({ name: '', email: '', message: '' })
    } catch (err) {
      console.error(err)
      setStatus('error')
    } finally {
      setIsSubmitting(false)
    }
  }

  return (
    <form onSubmit={handleSubmit} className="space-y-4 max-w-md mx-auto">
      <input
        type="text"
        name="name"
        placeholder="Your Name"
        value={formData.name}
        onChange={handleChange}
        required
        className="w-full border p-3 rounded"
      />
      <input
        type="email"
        name="email"
        placeholder="Your Email"
        value={formData.email}
        onChange={handleChange}
        required
        className="w-full border p-3 rounded"
      />
      <textarea
        name="message"
        placeholder="Your Message"
        value={formData.message}
        onChange={handleChange}
        required
        className="w-full border p-3 rounded h-32"
      />
      <button
        type="submit"
        disabled={isSubmitting}
        className="w-full bg-blue-600 text-white py-3 rounded"
      >
        {isSubmitting ? 'Sending...' : 'Send Message'}
      </button>

      {status === 'success' && (
        <p className="text-green-600 mt-2">✅ Message sent successfully!</p>
      )}
      {status === 'error' && (
        <p className="text-red-600 mt-2">❌ Something went wrong. Try again.</p>
      )}
    </form>
  )
}

Step 6: Use It in Your Page

Open app/page.js (or pages/index.js in older Next.js projects) and add:

import ContactForm from '../components/ContactForm'

export default function Home() {
  return (
    <main className="p-10">
      <h1 className="text-2xl font-bold mb-6">Contact Me</h1>
      <ContactForm />
    </main>
  )
}

Now visit your form at http://localhost:3000.


Step 7: Deploy on Vercel

When deploying to Vercel, don’t forget to add your environment variables in Vercel → Project Settings → Environment Variables.


Wrapping Up

Congrats! 🎉 You’ve just built a fully working Next.js contact form with email integration—all without setting up a backend server.

Here’s what you now have:

  • A simple form that collects user details

  • Automatic email delivery with EmailJS

  • Runs smoothly on free hosting like Vercel or Netlify

This setup is perfect for portfolios, business websites, and landing pages where you need a quick, reliable way to receive messages.

Tags

Next.jsEmailJSContact FormWeb DevelopmentJavaScriptReactFrontend DevelopmentNext.js Tutorial